
Controlling Light With Filters
Filters are very useful tools to help control exposure or modify light in some way. There are three types that commonly used: Neutral Density (ND) filters; ND graduated filters; and polarisers. Polarisers can be used for a wide variety of photography projects; ND and ND graduate filters are typically only used when shooting landscapes or architecture.
ND filters
ND filters are essentially sunglasses for your camera. They block some of the light that passes through them, reducing the amount of light that reaches your camera’s sensor. This means that you can use longer shutter speeds or larger apertures than the unfiltered ambient light levels would otherwise allow. The word neutral in their name indicates that they do not add any colour to the shot, so the colours in the scene you are shooting will still be accurately captured.
You can buy ND filters in a variety of strengths, which is indicated by one of two different systems. (Which is used will depend on the preferences of the filter manufacturer.) The first – and most commonly used system – starts at 0.1 to represent a strength of 1/3-stop. (So light levels reaching the camera’s sensor are reduced by 1/3 stop.) A 0.3ND filter reduces light by one stop; a 0.6 by two stops; 0.9 by three-stops and so on. The second system uses filter factors to demonstrate the strength of the filter. Using this method, a one-stop ND filter is shown as 2x; two stops is 4x; and three stops is 8x.
When using ND filters it is important to use a fixed ISO. If you use Auto ISO, then ISO will increase to compensate for the use of the filter. This will lead to a faster shutter speed or smaller aperture, negating the reason for fitting the filter in the first place!
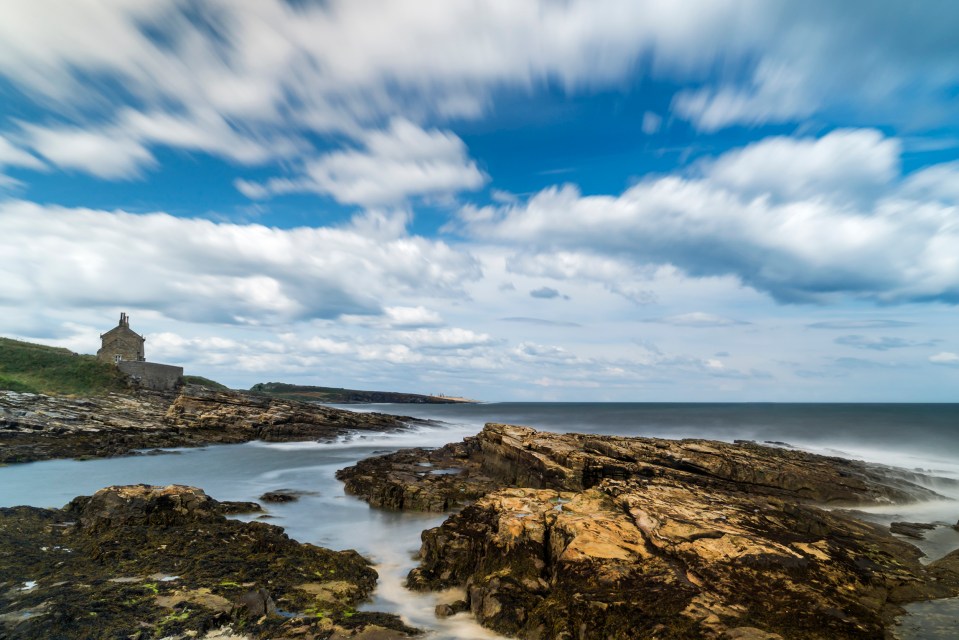
A very popular type of ND filter is the extremely dense ND filter that allows the setting of very long shutter speeds, even in the brightest of light. A six-stop ND filter (1.8 or 64x) is regarded as the weakest of these extreme filters. Photographers often prefer the more dense 10-stop (3 or 1024x), which is opaque to the naked eye. For those with lots of patience, it is even possible to buy a 15-stop (4.5 or 32,000x) ND filter , which essentially simulates shooting at night only during the day. Because these filters are effectively opaque, you generally need to fit them after your photo has been composed and the lens focused.
ND Graduated filters
Landscape photography has a particular set of challenges rarely faced when shooting other subjects (other than perhaps architecture). One of these challenges is retaining detail in sky when it is far brighter than the foreground. When you expose for the foreground the sky burns out, or if you expose for the sky the foreground is dark and lacking in detail.
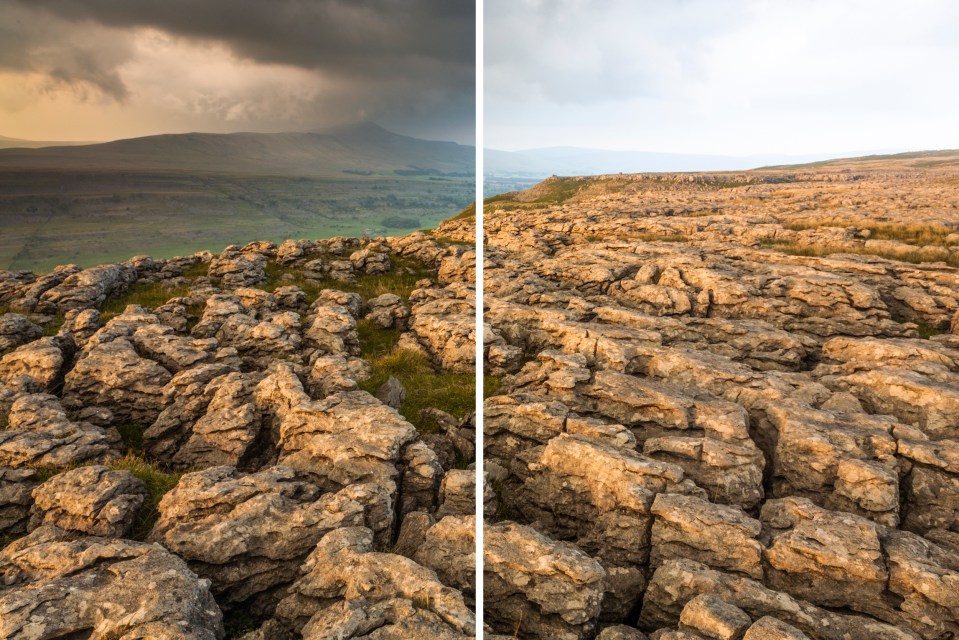
The solution to the problem is the ND graduated filter (often shortened to ND grad). An ND grad filter has some similarities to the ND filter described above. The difference lies in the fact that only the top half is filtered; the bottom half is totally clear. In use, you position the filter so that the filtered section covers the sky, with the clear section over the foreground. The idea is that the filtered area lowers the exposure of the sky to bring it in line with the foreground exposure.
Just like ND filters, ND grads are sold in different strengths (though there is less choice: one-stop, two-stop and three-stop filters are overwhelmingly the most common). The greater the brightness difference between the sky and the foreground, the stronger the ND grad you would use.
Polarising filter
The effects of the polarising filter (or polariser for short) cannot be replicated either in-camera or in post-production. If you need a polariser then there is no substitute! There are two ways to use a polarising filter. (Strictly speaking there is a third – polarisers cut light roughly by two stops so they can be used as a weak ND filter.)
The first use is to reduce or even cut out glare and reflections from non-metallic surfaces, including (but not limited to) paint, glass and water. This helps to either make the surface more transparent or reveals the true colour otherwise hidden by the glare. However, effect does not work at all angles, only when the polariser (and camera) is at roughly 35-45° to the surface. Polarisers have no effect when used parallel to the surface.
The second use is deepening the blue of skies. This helps clouds to stand out more against the sky and adds visual interest. As with the first effect, this only works in a narrow range of angles, in this case in sky that is 90° away from the direction of the sun.
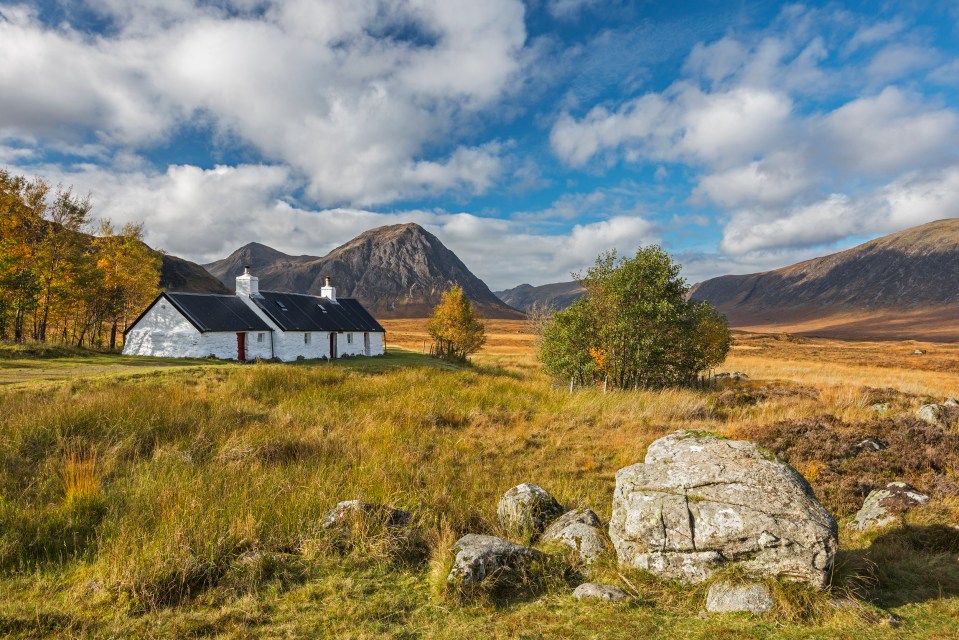
You can vary the strength of both effects by rotating the polariser, the glass of which is mounted in a moveable ring that can be turned through 360°.