
Exposure Metering
The metering modes in your camera were discussed in lesson four, but what was not discussed then was what the basic principles behind a camera’s exposure meter are. So, without further ado…
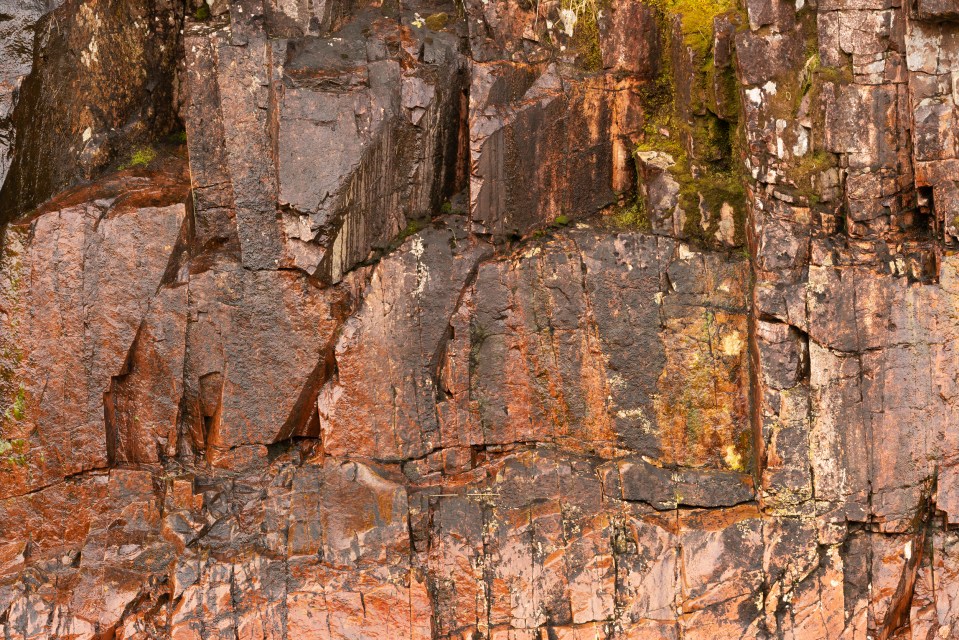
Every exposure meter inside a camera is a reflective meter, so named because it measures the amount of light reflected by the scene being metered. (Unless a light source is also in the frame too.) Reflective meters make one basic assumption: that the scene being metered has an average reflectivity that equates to a mid-grey tone (or, to be more technical, reflects roughly 18% of the light that falls on it.) Generally, this is a reasonably assumption to make. Commonly-encountered subjects such as grass, rock, or brickwork, have a reasonably average reflectivity that equates to a mid-tone.
However, not every scene you shoot will be so obligingly average. There will be occasions when a scene has a higher or lower-than-average reflectivity. Snow is a good example of the former, a black cat asleep on a dark velvet cushion is a good example of the latter. A non-average scene can cause exposure problems. A higher-than-average scene typically, if slightly counter-intuitively, causes underexposure. Snow frequently looks grey, rather than white because of this tendency. It happens because the camera is trying to average the scene back to a mid-grey and so ‘pulls’ the white down to that level. The opposite is true of a lower-than-average scene. A camera meter will tend to overexpose, this time pushing the dark tones up towards mid-grey. The cure for both problems is to use your exposure compensation to adjust exposure accordingly.