
Exposure Modes
Effects Modes
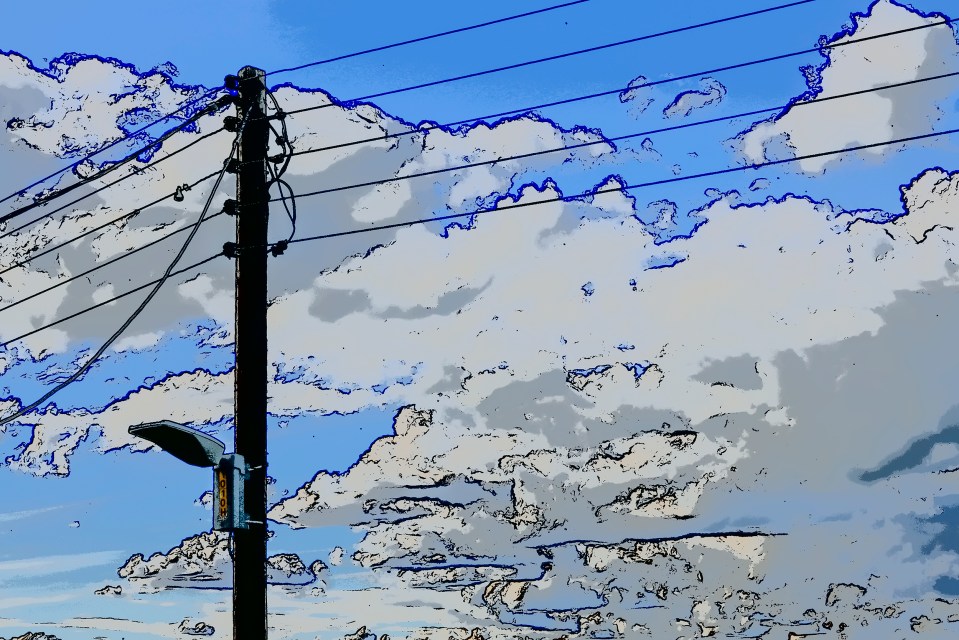
An effect mode is one that applies a visual effect to an image, such as Photo Illustration or Toy camera effect. The effects generally alter an image quite drastically, producing effects that would only be possible in post-production (and even then, may require quite a bit of time to achieve). The Effects modes generally offer little in the way of adjustment, other than refining the strength of the effect. You possibly would not want to use the effects on a day-to-day basis, but they are fun to experiment with occasionally.
Full Auto
Select Full Auto (or similar, the name of this mode does vary between camera manufacturers) and you put your camera in the driving seat. You have no – or at least very little – control over aspects of shooting such as exposure and ISO (see lesson six). This does mean that a certain amount of creativity is taken out of your hands, but it does free you from thinking technically, and lets you to concentrate purely on composition and timing. This makes Full Auto ideal for social situations, such as weddings or parties.
Scene modes
A camera’s various Scene modes are one step up from Full Auto. They still automate the shooting process, but they are designed for specific shooting situations, such as Landscape, when you are outdoors in the natural world, or Portrait when you are shooting people. The camera subtly adjusts how it exposes and renders your photos to suit your subject (assuming you have chosen the correct scene mode for the situation). The control you have is in the selection of the Scene mode, though some cameras do allow a small amount of exposure adjustment.
Program (P)
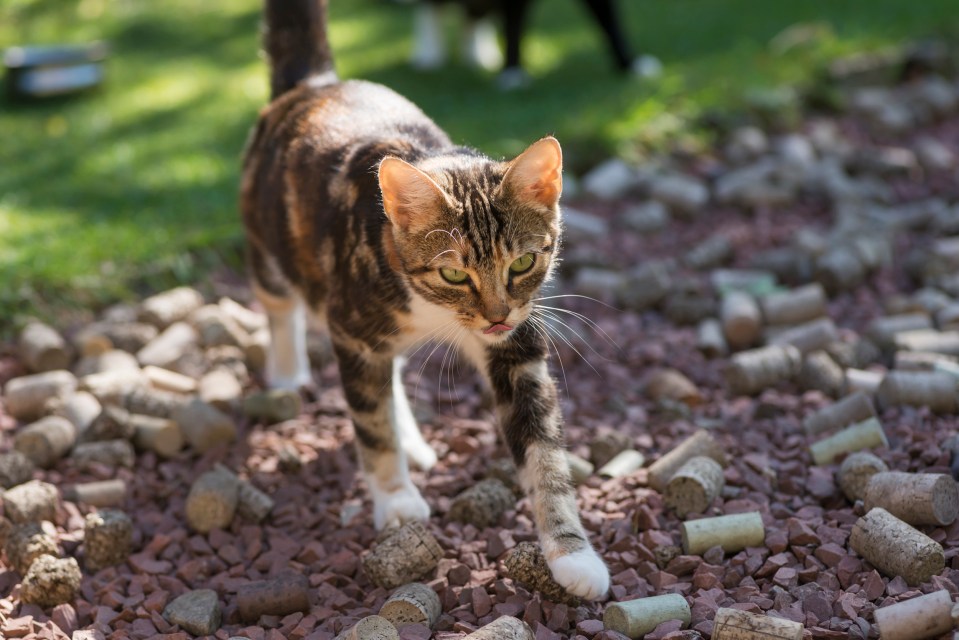
Program is a semi-automated shooting mode, similar in concept to Full Auto but with far, far more control over the picture taking process. The camera still sets the exposure for you, choosing the appropriate shutter speed and aperture to suit the ambient light levels. However, you do not have to accept the settings the camera has selected. You can override exposure by adjusting both the shutter speed and aperture relative to each other (known as Program shift), or by applying exposure compensation to make the photo lighter or darker (see lesson six). You can also change options such as White Balance or ISO. Program is an excellent bridge between Full Auto and the more complex modes such as Manual, described below.
Shutter Priority (S or Tv)
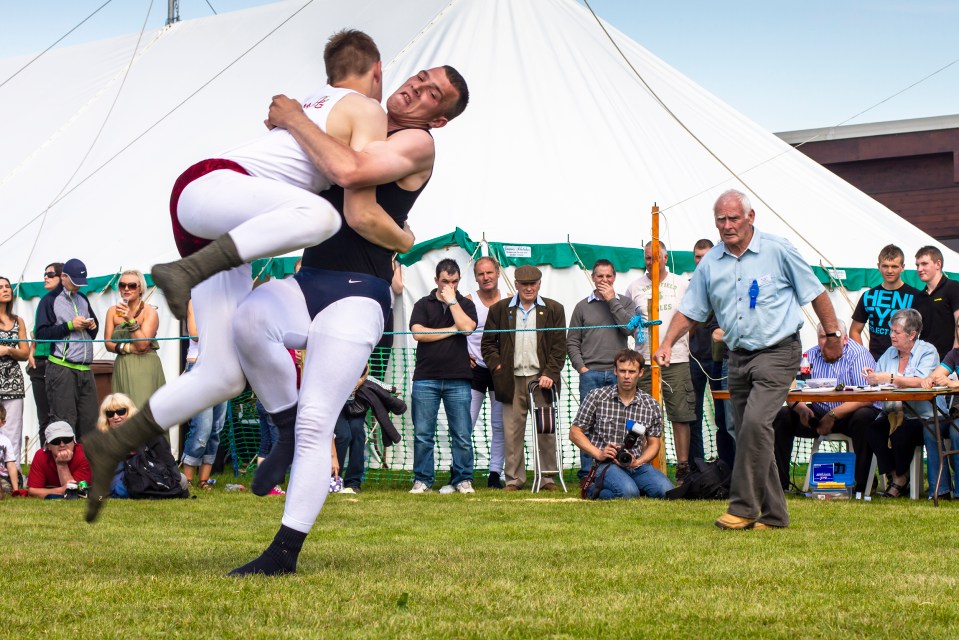
Both Shutter priority and Aperture Priority (described below) are semi-automatic exposure modes. You set one exposure option and the camera adjusts other setting accordingly. In the case of Shutter priority, you set the required shutter speed and the camera sets the aperture value. There will be more information about shutter speed in lesson six but for now, note that shutter priority is typically used when a precise shutter speed is required to create a particular effect. This is necessary whenever there is movement in your scene; the shutter speed you chose determines how this movement is rendered in the final photo. (The shutter speed is largely irrelevant if you shoot a static scene. It could be any value between 1/4000 and an 30 seconds and the effect would be the same.)
Aperture Priority (A or Av)
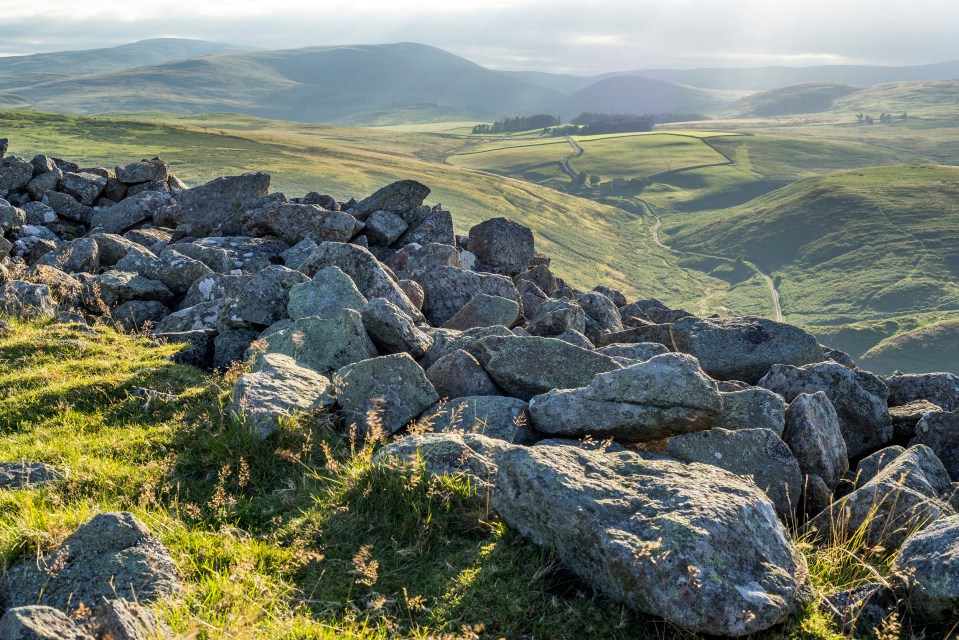
Select Aperture priority and you are in full control of the aperture inside the lens. It is the aperture (as well as a few other factors) that determines the depth of field of a shot. Depth of field is the degree of sharpness in a photo; the greater the depth of field, the sharper the shot will be. Depth of field will be covered in more detail in lesson six, but for the moment just note that the largest aperture you use (between f/1.4-5.6 depending on the lens) will result in the least amount of depth of field, and the smallest apertures (f/11-22) will create the greatest depth of field.
Look through the viewfinder of a DSLR and you see the scene with aperture held open at its maximum value, regardless of the aperture you or the camera may have chosen. The reason for this is that closing the aperture down would result in a darkened viewfinder, making composition more difficult. This means that you are not seeing a true representation of depth of field in the final photo. To get around this problem DLSRs often have a depth of field preview button. When this is pressed the aperture in the lens closes to the currently selected value. This does mean that the viewfinder darkens, but if you let your eyes adjust you should then be able to see what will be sharp or unsharp in the final photo. This is less of an issue when using Live View, or when using a mirrorless camera. You may still need to use the depth of field preview button to close the aperture down, but the camera will adjust the brightness of the display to compensate.
Manual Exposure (M)
Move the mode dial to Manual Exposure and you are in complete charge of exposure. If exposure is incorrect then is no-one to blame but you! Exposure is adjusted by altering shutter speed, aperture, ISO, or a combination of two or all three. If the ambient light levels change as you shoot, or if you add exposure adjustment filters, then you will need to adjust exposure accordingly. (If you do not the resulting photo will be incorrectly exposed.)
Fortunately, you do not have to guess at the correct exposure. You can still use the camera’s exposure meter as a guide, or even use a handheld meter to determine the correct exposure. (These are readily available, though a cheaper option is to use an exposure meter app for your Smartphone.)
Exposure is a creative act just as much as composition so in some respects there is no such thing as the ‘correct’ exposure other than in a very technical sense. The exposure settings you use are those that create the photo that most pleases you. If underexposure is ‘right’ then you should underexpose. (Or overexpose. It is your photo!)
Bulb
Bulb mode is a variation of Manual exposure (and is often reached by cycling through shutter speed beyond 30 seconds when in Manual exposure). As with Manual exposure you set the aperture (and ISO) but shutter speed is entirely arbitrary – the shutter stays open as long as you hold the shutter button down. (Though this can get tiring very quickly, particularly when exposure times are minutes in length. It is far easier to use a remote release and lock the shutter open for the required length of time.) Bulb mode is typically used when the exposure required is longer than 30 seconds. This is often necessary when shooting in very low light – in dim interiors, before sunrise or after sunset, or when using very dense filtration.
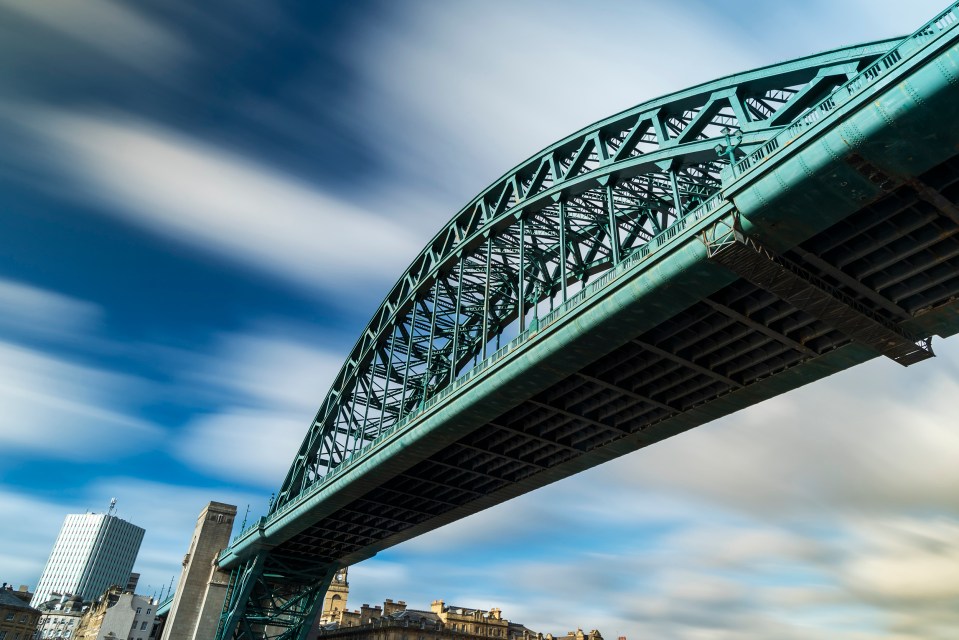
One visual effect that can occur when using exposure greater than 30 seconds is long exposure noise. This is seen as brightly-coloured pixels scattered across the photo; the longer the exposure, the greater the number. Long exposure noise is caused by the sensor warming up over the exposure, corrupting the image data. You can reduce long exposure noise by turning on long exposure noise reduction on your camera. (This is typically found on the Shooting menu.) Unfortunately, there is one big drawback to this option. In order to reduce long exposure noise, the camera effectively doubles the exposure time. (So, if you were to make an exposure of one minute, that exposure plus long exposure noise reduction would take two minutes.) This can make long exposure photography an incredibly lengthy process, and increases the risk that your camera battery dies before an exposure is complete. It is worth experimenting with long exposure noise reduction to see whether you prefer it turned on or off, and what, if any, problems occur when it is off.