
Picture Parameters
Once upon a time, if you wanted to vary the visual qualities of your photos you would choose from a wide range of film types. In the digital age we either alter a camera’s picture parameters option or make the adjustments in post-production.
A camera’s picture parameter options are generally found on the shooting menu. (Camera manufacturers use different labels for picture parameters. On Canon cameras it is Picture Style, on Nikon cameras it is Picture Control.) There are usually a wide range of options to choose from, with Standard (or similar) as the default.
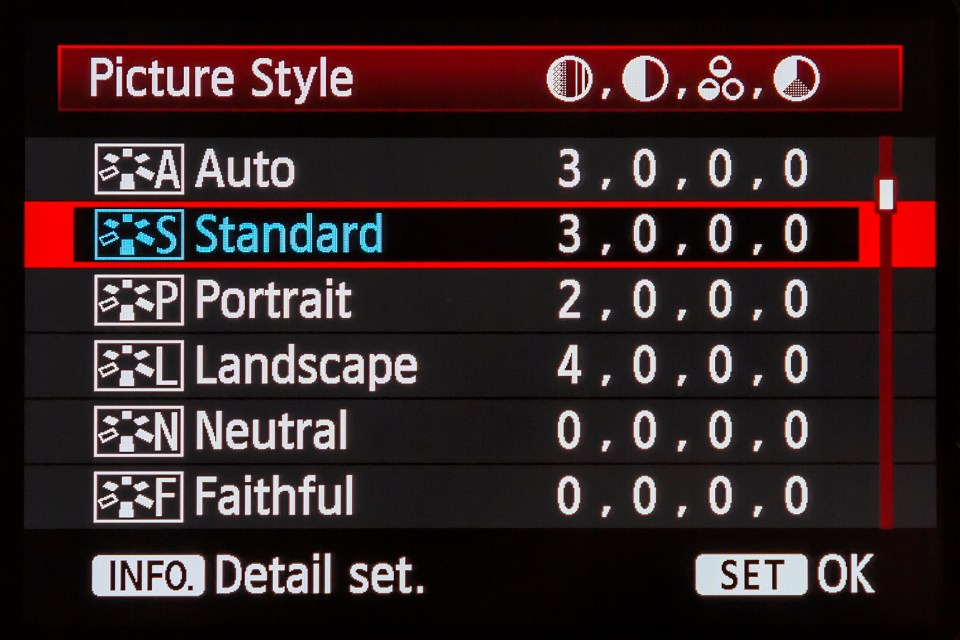
The picture parameters essentially control three things: the saturation or vividness of colours in your photos, the contrast of the photos, and their sharpness. (The latter option is not linked to focusing, but how sharply defined – or otherwise – edges in a photo appear. Typically, you would shoot landscape or architecture with a fairly high sharpness level to reveal detail, whereas portraiture benefits from a low sharpness to hide blemishes.) Standard is generally a bit in the middle, with reasonable, but not overpowering, colour saturation, average contrast, and average sharpness.
Not every camera has the same range of picture parameters, but generally all have a Portrait and Landscape picture parameters. Both are designed to be used when shooting those two subjects. Typically Landscape has high colour saturation, particularly greens and blues. Portrait softens colour saturation slightly in order to create pleasing skin tones. Other options include Monochrome or B&W, where all colour is removed, though some cameras also offer tint options such as Sepia. Neutral or Flat produces images that have reduced colour saturation and lower contrast. These are useful when shooting in high contrast scenes, and can help to retain details in the highlights and shadows (see lesson seven).
Cameras often let you modify one of the set picture parameters, offering adjustments to Saturation, Contrast, and Sharpness and the facility to save those adjustments for future use. The idea is that you create your own style of shot, unique to you.
Picture parameters are ‘baked’ into JPEGs and cannot be undone easily later. If you do want to modify your images later consider using a low contrast/saturation setting such as Neutral. It is far less destructive to image quality if you add contrast or saturation after shooting than it is to try and remove it. A Raw file will initially have the set picture parameter applied when you first open it in post-production. However, it is not fixed and it is easy to adjust the image to your preferred style than JPEG.
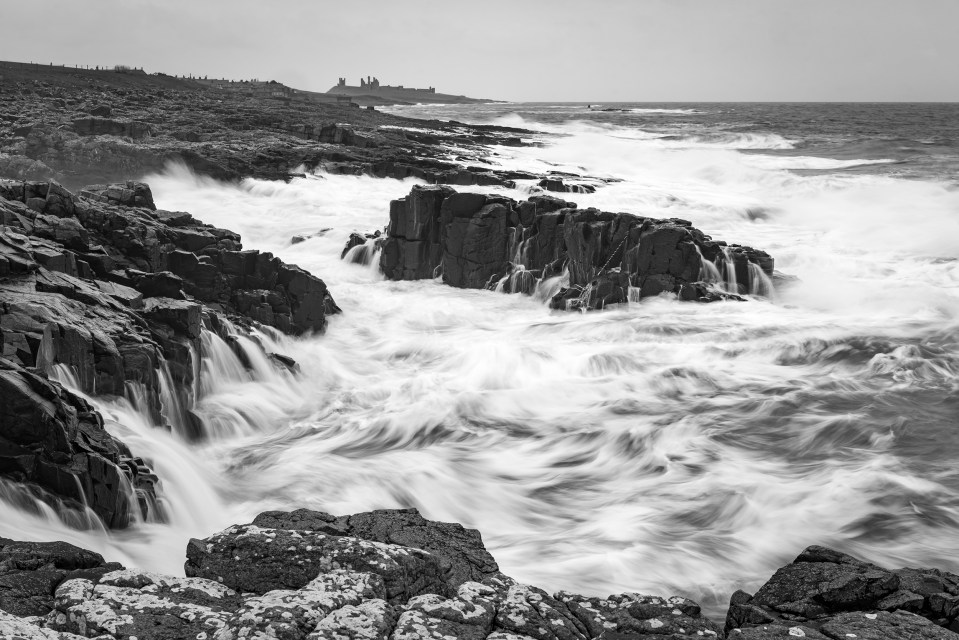
Creating black and white photos can be achieved through picture parameters. Raw is ideal for this as, with Monochrome (or similar) selected you can see a B&W image in Live View (and playback). However, the camera still saves the image with all the colour information included. If you decide the photo is better in colour then you have lost nothing. If you still prefer B&W you can use the more extensive conversion tools in post-production to achieve your intended goal.
Highlight and shadow control
Shoot in high contrast light can make exposure difficult (see lesson seven). You often need to make a compromise between retaining detail in the highlights or the shadows. One option commonly offered on cameras some form of highlight or shadow control. (Either split into two separate functions, such as Canon’s Auto Light Optimiser and Highlight tone priority, or one option, such as Nikon’s Active D-Lighting.) You can usually alter the strength of the option, either turning it off completely, or varying its effect, from Low to Strong (or similar).
These various options do a reasonably good job of retaining detail in either the highlights or the shadows, but they do have a downside. (There is no such thing as a free lunch in photography…) Either the ISO range is restricted or there is more noise visible in the shadows. They should only be used when shooting with JPEG, and only when shooting high contrast scenes. On overcast or misty days, for example, turn any highlight or shadow control to off.