
Tonal Adjustment Tools
One of the downsides to shooting Raw is that your photos will need some tweaking in post-production, even if those tweaks are fairly minor. The adjustments described below are used to make tonal adjustments to photos, making them darker or lighter, or more or less contrasty. They are all generally found in post-production software, though it is possible that the names may be slightly different depending on the software you use.
Brightness/Contrast
Brightness/Contrast is a fairly simple tool, usually with sliders to adjust brightness and contrast independently. Brightness lets you make your photos darker or lighter, affecting both the darkest and lightest equally as you make the adjustment. Contrast lets you increase a photo’s contrast, so that light tones are pushed closer to white and dark tones to black, or decrease contrast, making the photo look flatter and greyer.
Exposure
The Exposure adjustment works in a similar way to applying exposure compensation on a camera. Exposure lets you adjust the brightness of a photo in stops, with a negative adjustment darkening an image and a positive adjustment making it lighter. However, Exposure should be used sparingly, particularly when applying a positive correction. Every stop of positive adjustment is essentially the equivalent of a one stop’s increase in ISO. As you lighten your photos you will start to see more image noise, particularly in the shadow areas. Ideally photos that you lighten should have a low ISO value as this will give you more scope for exposure adjustment later. (Getting exposure right in the first place is of course the ideal, but there is nothing to be ashamed of if you need to make exposure adjustments later.)
Highlights and Shadows
Allowing a more subtle adjustment than Brightness/Contrast, the Highlights and Shadows tools gives you control over the brightness of the shadows or highlights in an image, typically without affecting mid-tones. The Shadows slider can be used almost like a fill light, adding extra ‘light’ into the shadows of an image. (With the limitation that adding too much ‘light’ will start to make noise more visible in the shadows.) Highlights can be used to dull down the brightest parts of an image. However, if those bright areas were clipped to white thanks to overexposure at the time of shooting, then no extra detail will be recovered. (There is often some scope to recover slightly overexposed highlights in Raw photos, but this is not something you should rely on.)
Curves
Possibly the least intuitive of the tonal adjustment tools, Curves is also the most useful. It allows adjustments to particular areas of an image’s tonal range. When you first open Curves your are presented with a histogram in a box, intersected by a diagonal line running from the bottom left corner of the box to the top right. Below the box is the Input greyscale gradient, which starts at black on the left and ends at white on the right. Left of the box is the Output gradient, which runs vertically with black at the bottom and white at the top.
To adjust the curve you first click somewhere on the diagonal line to add a control point. If you follow straight down from this control point to the Input greyscale you will see which part of the tonal range you are about to adjust. As an example, place the control point exactly halfway along the diagonal line. Look straight down from there and you will see that you are halfway along the Input gradient too, directly in the mid-tone range.
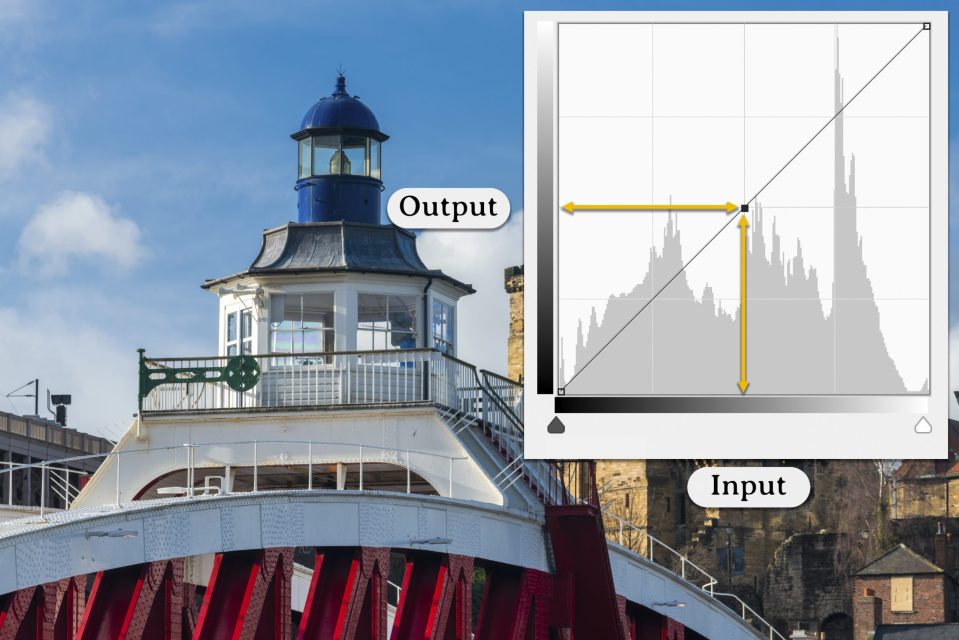
Next pull the control point upwards. You will see the line begin to curve and the image lighten. If you now look directly across from he control point to the Output gradient you will see how the mid-tones have been lightened. (The area of the gradient should be far lighter than a mid-tone.) Pull the control point all the way to the top of the box and what were mid-tones will now be white.
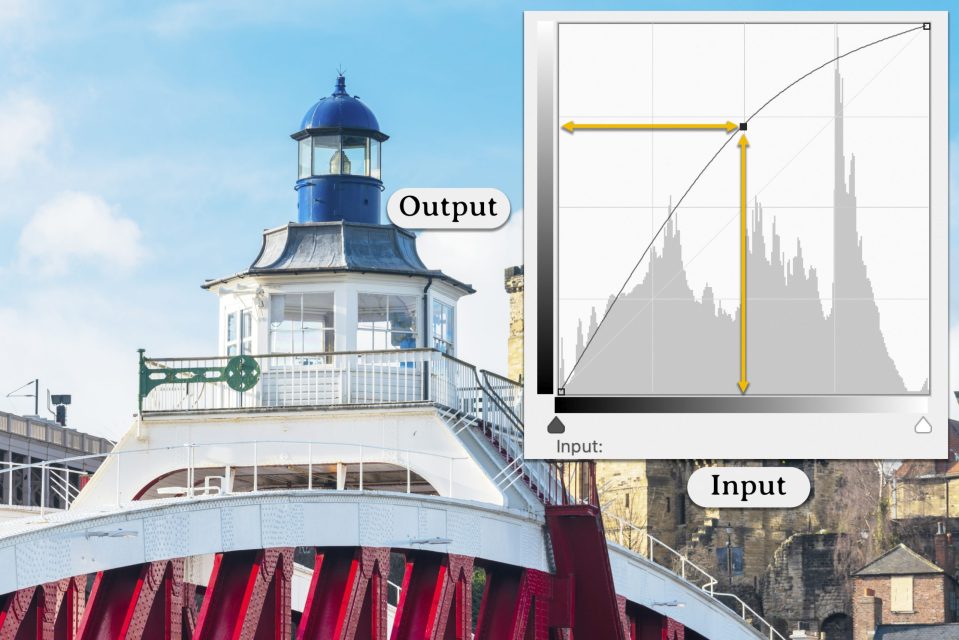
After this, pull the control point downwards and the image will darken again. If you pull it lower than the starting point then the mid-tones will be darker, eventually reaching black if you pull it down to the bottom of the box.
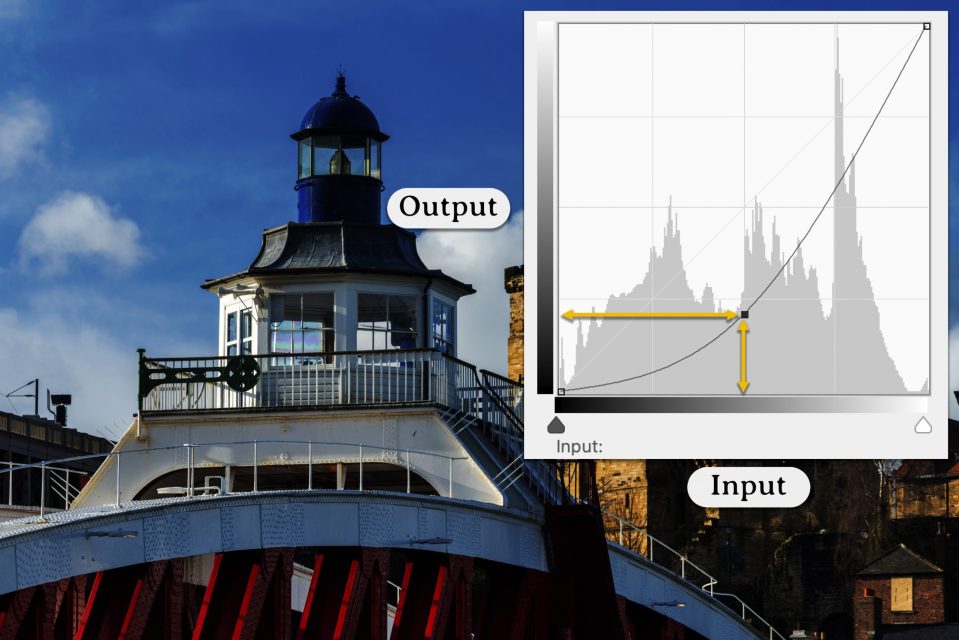
You can add multiple control points along the line too. This allows you to affect different areas in the tonal range separately, such as darkening highlights and lightening shadows.