
Manual Focusing
Despite all the technology behind modern AF systems, there will still be times when focusing manually is preferable. This can be when AF is having trouble locking focus, or when extra precision is necessary, such as when shooting macro subjects.
All lenses designed for DSLRs or mirrorless cameras have a focus ring that can be used to manually focus the lens. (You can often manually focus compact cameras too, though this is usually via a menu option in combination with turning a control ring on the camera body.)
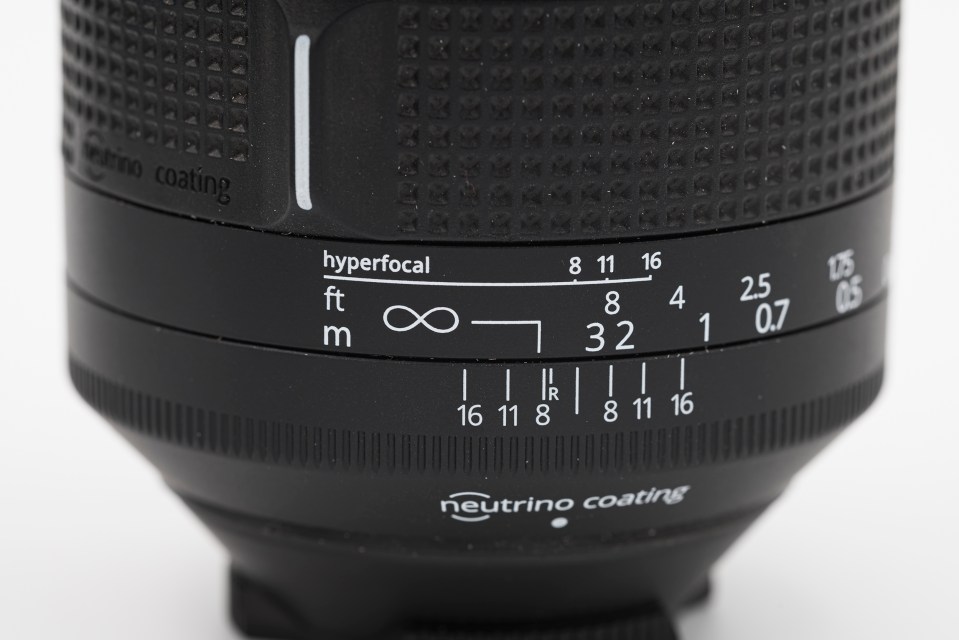
The focus rings of modern lenses can often be turned even when AF is still selected. This is known as focus override and effectively – if temporarily – puts the lens into MF mode. However, this is not something you should assume is possible on every lens. Turning a focus ring in AF mode on a lens without focus override can damage the lens’s focus motors. To set a lens to ‘permanently’ to MF mode you either use an AF/MF switch on the lens itself, or via a menu option on the camera. (You reverse the procedure to return to AF. ) Once set to MF you can then freely turn the focus ring to focus, using the viewfinder or LCD to check focus, or by looking at focus distance scale on the lens as you turn. (Not all lenses have a distance scale unfortunately. On mirrorless cameras the lens distance scale is often replaced by a focus distance bar, shown on the EVF or LCD.)
When to use MF
As already described, AF isn’t infallible and there may be times when you need to step in and focus manually. This is typically when contrast is low, such as on a misty day, and there is not enough detail for the camera to lock onto. Macro is also another situation where AF is not at its best. You may find that the AF points on your camera are too far apart for the precise focusing that is often required for macro. Remarkably too, there are still lenses being produced today that are manual focus only. These tend to be either specialist lenses, or lenses where optical considerations have been prioritised over AF. (Both types of lens tend to be more expensive than your more general purpose lens.) Finally, if you own a mirrorless camera you could potentially use lenses designed for other systems via an adapter. Adapters, with only one or two exceptions, do not maintain functions such as AF, forcing you to focus the lens manually.

Focusing aids
Your lens is set to MF and you are ready to focus manually. You look through the viewfinder and… you find it is difficult to see what is perfectly sharp and what is not. You need help. Fortunately, cameras have a number of tools designed to help in this situation.
AF points
It may seem counter-intuitive, but you can use your camera’s AF points to confirm when you have focused correctly. To use the technique move the camera so that your subject is under an active AF point. (Or, ideally, move the AF point to your subject.) Next, with your finger holding the shutter button down halfway, turn the focus ring. The AF point or focus indicator in the viewfinder or on the LCD will light when your subject is in focus.
Image magnification
Switch to Live View on a DSLR, or use a mirrorless camera, and you can magnify the image in order to check critical focus. The degree of magnification is camera-dependant, but up to 10x magnification is common. This focusing aid is best used in conjunction with a tripod. This stops the camera from moving as you zoom into the image, thus changing the focus distance.
Focus peaking
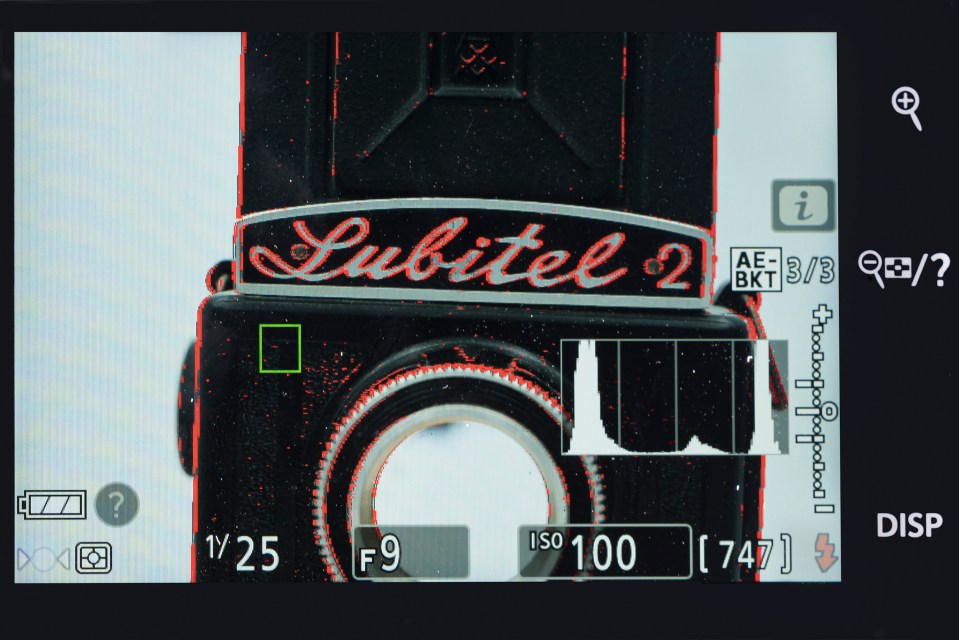
Mirrorless cameras usually offer a focusing aid known as focus peaking. (When selected, focus peaking typically only activates when you select MF.) Focus peaking adds a coloured outline around areas of an image that are in focus. You can often change the colour of the peaking. Typically you select a colour that will stand out against your subject. (You would choose red, for instance, in preference to green when shooting plants.) Another option is the visibility of focus peaking s. You can generally choose between a relatively subtle peaking, or peaking that looks more coarse. The fine option is more difficult to ‘read’ but it does not smother fine detail in the way that coarse does.